Here’s something I’m working on now, though, it had it’s beginnings in long-long time ago land. I’m afraid to say just how long. Like another life?

I know this is from the nether-years because I started it when I still had my big studio easel, which I haven’t had in well over a year. Maybe it’s going on two years? I may have started it during the Exodus Project.
Anyway, This is on a 24-inch, 12-oz cotton duck canvas, previously primed and lightly sanded. I used Nova Color matte Gel Polymer as an adhesive to stick six small garment patterns on. I use plenty of the gel (which dries clear) on the front and back, as it also acts as a sealant and primer for acrylic and oil paint. I prefer the Nova Color gel mediums to Golden or Liquitex, or all those other brands. Always have. They are located in Culver City, CA and are competitively priced.
These paper garment patterns are not tissue. They are 125-lb. manila paper used in making master patterns for manufacturing. Similar to file folders. I start by making these patterns from a large selection of masters I’ve already made. My drawers are stuffed with them. All I have to do is trace the ones I want and cut them out with a precision shears. I usually make two at a time by stapling them together, which is the way it’s done in the apparel industry. This is known as “2-SELF” in the trade.
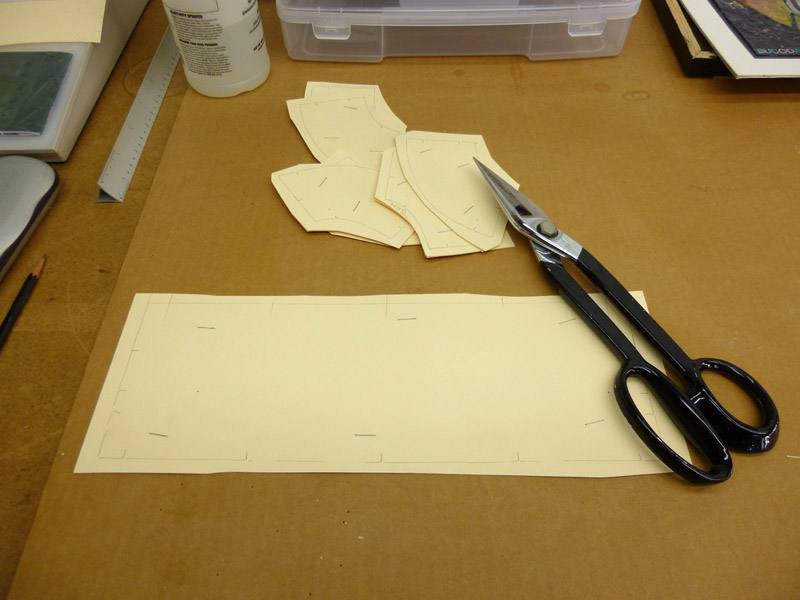
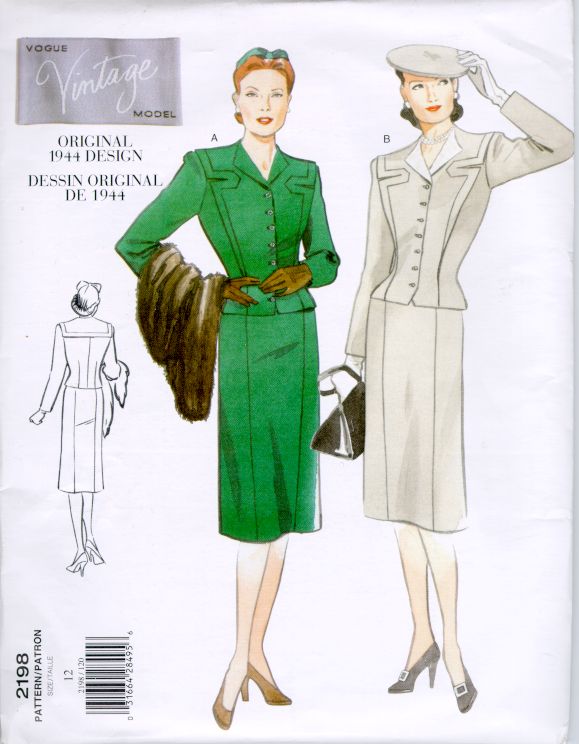
I make my original masters in various ways, but I most oftentimes use store-bought patterns–the ones made of tissue, and the kind you’d find at a fabric store. Although, I tend to only get vintage ones off of eBay. And I use child’s clothing (mostly girls), because the shapes are smaller and way more interesting, especially those from the 1960s and 70s. Collar pieces especially. Or sometimes I’ll use women’s clothing from way back in the 40s.
After the polymer nearly dries, I tend to rip a little bit of the paper off. When it’s really moist, but still very sticky (not yet dry), you can pull the paper off in layers and I like how it looks, especially for texture under the oil paint. Also, when removing the staples after cutting 2-SELF, the paper gets a little distressed this way as well. If I don’t want this look, I would cut a single piece without staples, obviously to make sure there are less pinholes in the paper. By the way, I only put one layer of paper on the canvas, in case that wasn’t clear. I just cut two at a time so I always have more patterns on hand.
When this part of the process is dry, I make little pencil dashes around the edges of the patterns, like stitches, then take a steel push pin to poke holes at the ends of each dash. Like this: .____. I do this so I can see light through the hole from the other side of the canvas when I’m behind it.

I then slowly stitch, with a strong upholsterer’s thread, usually black, in and out of the poked holes by walking in front, then behind the canvas. Back and forth. I am covering up the stitch marks that I’d made in pencil. Easy enough. Just time-consuming, depending on the painting and how many stitches I want.
I’ve been calling this piece, “Pey Experiment” for now because I originally arranged the pattern shapes into the Hebrew letter pey. In Jewish mysticism, pey has multiple meanings, but it’s mostly centered around the concept “to speak.” Pey literally means mouth, but it goes way deeper than that. I will most likely name it something else when I finish it.
Once I was able to take a relatively decent picture of this, I brought the image into Photoshop to start playing with it digitally, and this was all done in recent months now.
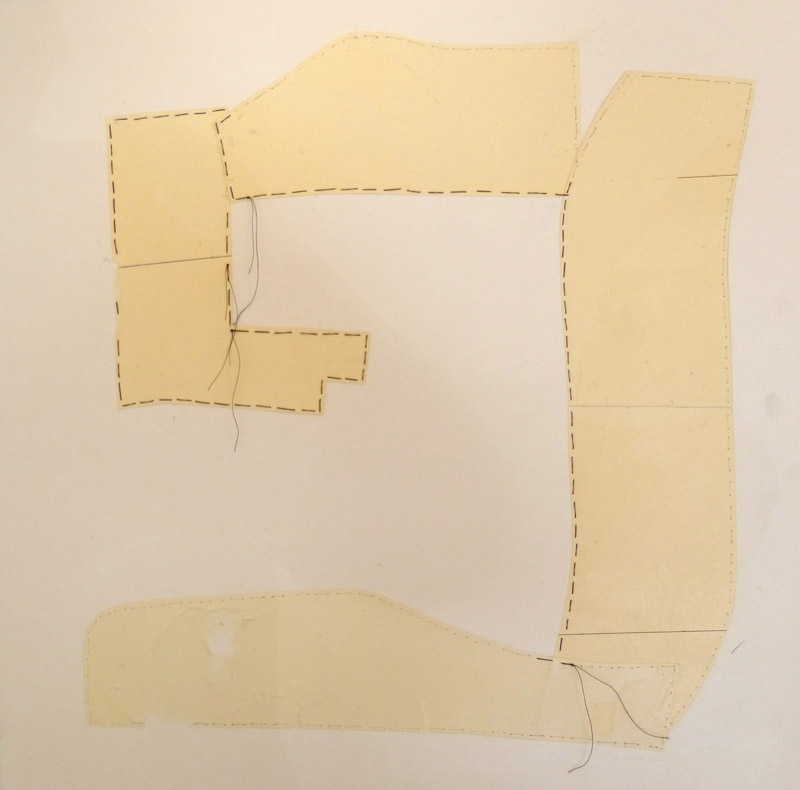
Honestly, it’s taken me weeks to look, and go back, and look again to make all the decisions on this composition so far. I had a number of other options I was going to do with this, and ultimately threw them all out. Now, for whatever reason, I wanted this painting thoroughly planned out as much as possible before I started putting paint down, and I’m glad I did because I decided to add more collage elements, and now I’m really happy with the results.
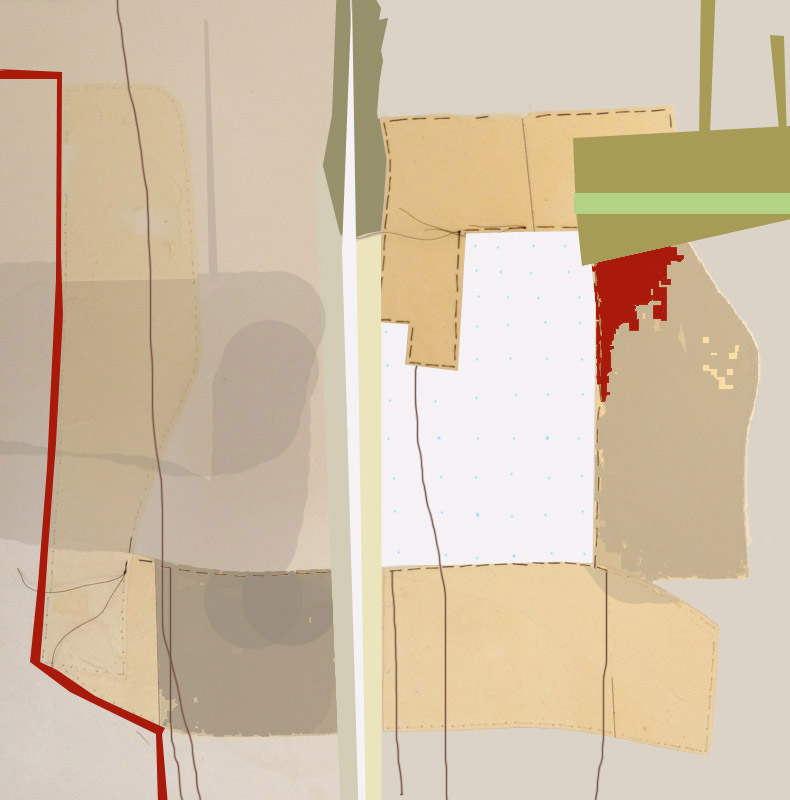
I will be turning the whole thing on its side and adding white dot paper in the center-right side. This dot paper (dotted with zeros and Ts) is very thin and it’s what the master patterns are printed on in the trade. The whole garment (all the patterns to a style) are plotted out and an image is taken of it across a flat table with an ultra violet light machine. The outline of those pieces are printed onto the dot paper. This printout is used again and again, placed over many piles of fabric which are then cut with an electric scissors. You might say it’s the Joanne’s Fabrics’ “ready-made” pattern for the apparel manufacturing industry, but the dot paper still isn’t quite as thin as tissue paper.
I also have plans to use other colored paper collage on here, grocery bag paper as a matter of fact, and red tape, before I begin painting, so painting around some of these things could be a little tricky, but not too big a deal.
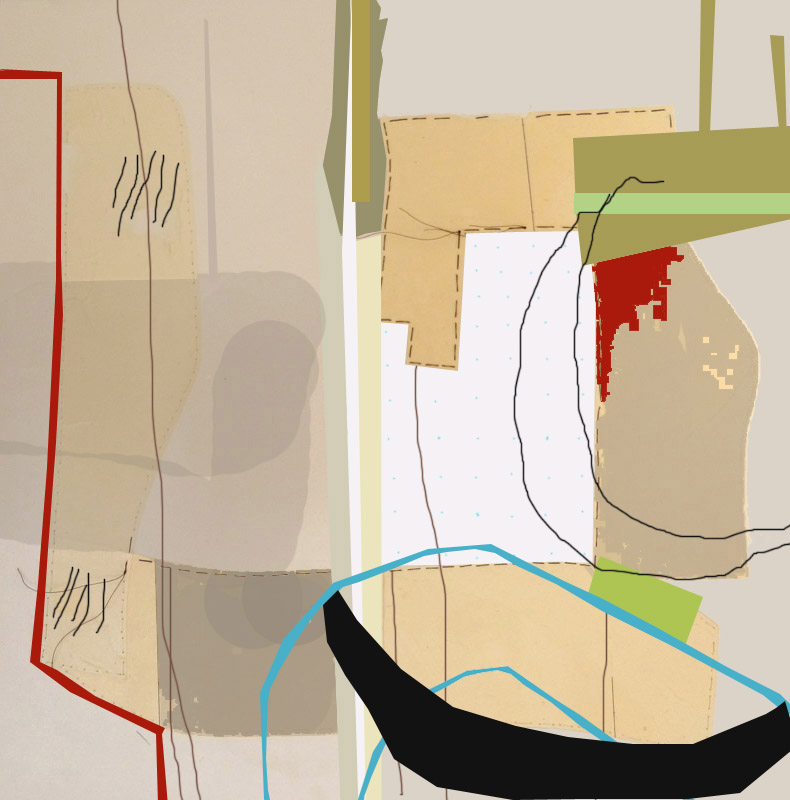
Working title: Pey Experiment (in progress). Paper garment patterns, thread stitched on canvas, and digital elements, 24 x 24 inches.
This blue bit will be double-layered cut and painted paper (manila paper) to make that part slightly more three-dimensional.

Now I’m ready to paint this one. I’m always open going in, willing to let the painting throw me whatever curve balls it wants. I know just because this is my intention, that doesn’t mean one iota of anything. This painting can turn into something else completely. And that just fine with me. That’s the fun part really.
Wish me luck.
